Step-by-Step Auto Glass Replacement Process in Murrieta, CA
Auto glass replacement in Murrieta, CA is a systematic process that ensures a vehicle’s windshield or side window is safely and correctly renewed. In this guide, readers will learn each stage of replacement – from damage assessment and scheduling to installation and final inspections – along with timing, costs, and common pitfalls. All information is presented factually, focusing on practical details and real-world considerations for vehicle owners.
Initial Assessment and Repair Decision
Technicians first inspect the damage to decide if repair or full replacement is required.
- Damage evaluation: Small chips or cracks (about 1 inch or less) can often be repaired, but larger cracks or edge damage usually require full replacement.
- Safety implications: Any crack can spread or weaken the glass. Even a tiny chip can grow under heat or vibration and eventually compromise the windshield’s structural support, affecting airbag deployment and occupant protection.
- Legal considerations: Under California law, driving with a windshield that impairs vision is illegal. Prompt repair or replacement avoids fines and ensures compliance.
- Cost comparison: Repairing minor damage is usually quicker and cheaper (often under $100), whereas replacement costs more (hundreds of dollars) but is necessary if glass integrity is lost or defects are in the driver’s line of sight.
In practice, the auto glass shop will assess the crack size and location. Minor dings within the repaired criteria (e.g., small center chips) are fixed with resin, but any crack larger than a quarter or near an edge is typically replaced. Addressing damage early prevents safety risks and higher costs later.
Scheduling, Location, and Preparation
Proper scheduling and preparation streamline the replacement process.
- Appointment setup: The customer contacts a glass shop (or mobile service) with vehicle details (make/model/year) and damage info. Many shops, including mobile services in Murrieta, offer free quotes and work with insurance providers.
- Mobile vs. shop: Customers can choose mobile service, where a technician brings equipment to a driveway or parking lot (even at home or office), or in-shop service requiring a drop-off. Mobile service is common in Murrieta, with providers often offering it at no extra fee.
- Vehicle prep: Before replacement, clear all cargo from the vehicle and ensure it’s parked on level ground. For safety systems recalibration, remove heavy items and check tire pressure, as some shops advise.
- Weather and location: A covered, sheltered area is ideal. If outdoor work is needed, choose a dry day; rain can interfere with adhesives. If needed, indoor shop bays prevent wind or moisture from affecting the installation.
- Access space: Ensure there is enough room around the vehicle for the technician to work (one bay or an open driveway). Avoid tight street parking.
Once scheduled, the technician will confirm insurance details and arrival time. Good preparation on the customer’s part helps the job proceed smoothly. Many services also handle insurance paperwork directly, simplifying the claim process for the owner.
Removing the Damaged Glass
The old or broken glass is carefully removed to prepare for the new installation.
- Protection: Interior surfaces (seats, dash) are covered to catch glass fragments. Technicians wear gloves and safety glasses to avoid injury.
- Trim removal: Windshield trim, molding, or door panels (for side windows) are gently pried off with trim tools to expose the glass edges. This step preserves reusable clips and prevents damage.
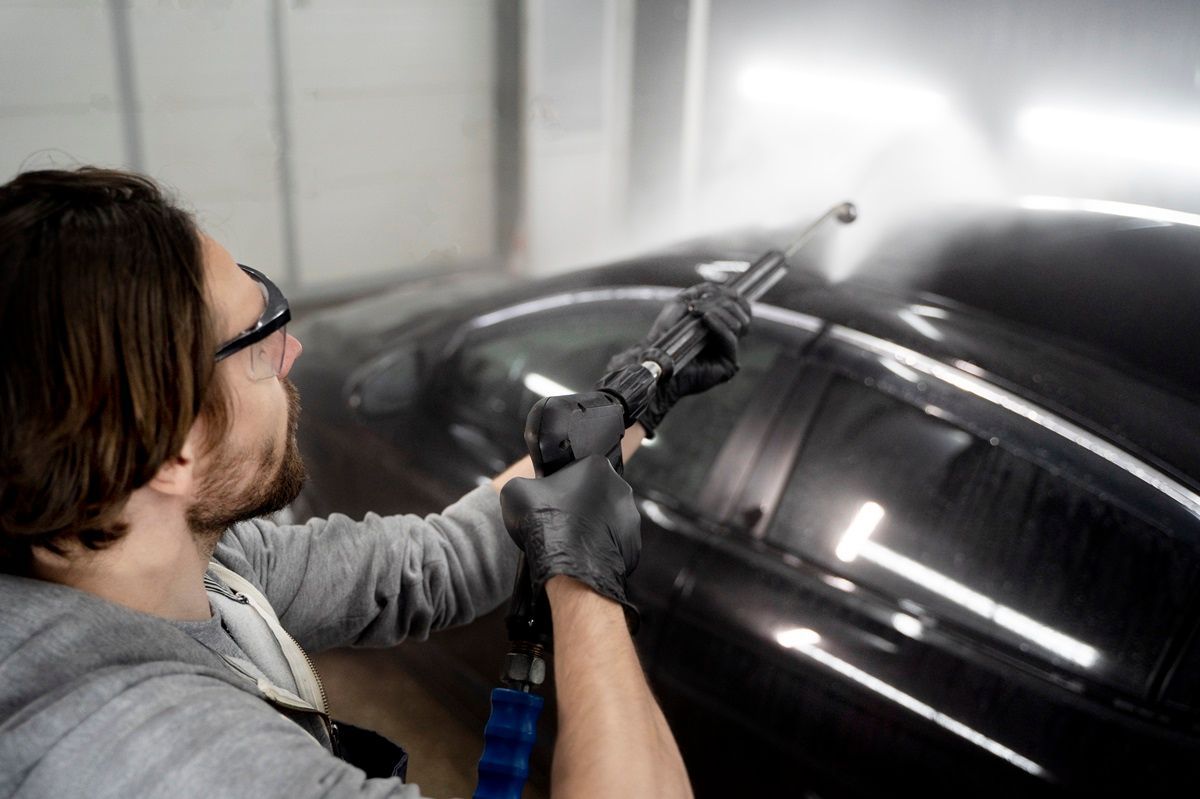
- Cutting adhesive: For windshields, a special cutting wire or cold knife is used to slice through the urethane adhesive around the windshield’s perimeter. Work is done slowly to avoid scratching the paint.
- Glass extraction: Once the adhesive is severed, suction cups are attached, and the old windshield is lifted out and set aside for disposal. For tempered side glass (which shatters), all fragments are carefully vacuumed from the door cavity and interior.
- Frame inspection: After removal, the technician inspects the window channel, wiper system (for windshield), seals, and any mechanisms. Damaged clips or seals are replaced, and the mounting surface is cleaned of old adhesive residue and debris.
This removal process is critical for safety and fit. Incomplete removal can prevent a proper seal. Vacuuming all glass particles protects passengers, and prepping the frame ensures the new glass will bond securely without leaks.
Installing the New Glass
The replacement glass is set into position and secured using the proper methods for the vehicle.
- Adhesive application (windshield): A bead of urethane adhesive is applied around the cleaned windshield frame. Technicians use a caulk gun to lay a continuous, even bead (per manufacturer guidelines). This adhesive bonds the glass to the frame.
- Windshield placement: Using suction cups, the new windshield is carefully aligned and lowered onto the adhesive bead. It’s pressed into place to seat evenly. Proper alignment is checked from all sides to match factory fit.
- Side/rear glass installation: Tempered side windows are inserted into the door track and attached to the window regulator mechanism; after placing the glass, the regulator is reattached to secure it. Stationary rear windows are often bonded with adhesive like a windshield to create a watertight seal.
- Trim and molding: Once the glass is in place, any trim or molding is reinstalled over the edges. New clips or weatherstrips may be used if originals were damaged. Tape (painter’s or molding tape) is sometimes applied to hold the windshield tightly against the adhesive while it begins to cure.
- Glass quality: Only OEM-grade or high-quality aftermarket glass should be used. Inferior (generic) glass can have distortions or fit issues; using certified parts ensures clear visibility and a perfect fit. The replaced glass must match the vehicle’s specifications (even thickness, tint, curvature) to maintain safety standards.
Proper installation is essential. A poorly placed windshield might leak or fail in a collision. Using the correct adhesive and ensuring a smooth, even bond prevents future leaks and preserves vehicle structural integrity.
Calibration of Advanced Driver-Assistance Systems (ADAS)
After installation, any driver-assist sensors or cameras must be recalibrated to factory specifications.
- What is ADAS?: Many modern vehicles have windshield-mounted cameras and sensors (for lane-keep assist, automatic braking, rain-sensing wipers, etc.) that rely on precise alignment. Replacing the windshield can disturb those sensors.
- Calibration necessity: A professional must recalibrate these systems if equipped. Without recalibration, safety features may malfunction or remain disabled. Some state regulations and insurance policies expect recalibration to manufacturer standards.
- Calibration methods: Calibration can be static (using special targets in front of the car) or dynamic (driving the car on a road to adjust sensors). The required method depends on the vehicle’s make/model and sensor type.
- Provider responsibility: Many mobile and shop installers offer ADAS calibration. For example, Suffolk Glass notes that cameras and lane departure systems are recalibrated on-site as part of the process. Always verify that your chosen service has the training and equipment to perform this step.
- Exceptions: Older or base-model vehicles without advanced sensors typically do not need calibration. Technicians will inform you if calibration is needed (and whether your insurance covers it).
In practical terms, after replacing a windshield on a newer car (often 2015+ models), you should assume calibration is required. Reliable shops will explicitly include this service and confirm that the car’s safety systems are working again before completion.
Curing, Inspection, and Cleanup
Once the new glass is in place, it must be allowed to bond fully, and the work is thoroughly checked.
- Adhesive cure time: Urethane adhesives need time to harden before driving. Most installers recommend at least 1–2 hours of waiting before driving, but full structural bond usually takes longer (often 12–24 hours). Hot weather (common in Murrieta) can accelerate curing, while cold slows it. The technician will tell you the safe “drive-away” time based on the product and conditions.
- Pressure precautions: During curing, do not slam doors or roll up windows too quickly. Excessive pressure changes inside the cabin can create gaps or leaks in the seal. Many experts advise leaving the doors slightly open between opening and closing to avoid pressure buildup.
- Leak and fit check: After the adhesive has set, the installation is inspected. Technicians check that the glass sits flush and level with the frame. They look for any visible gaps, adhesive squeeze-out, or misalignment that could cause water leaks or wind noise. Any seals or gaskets are verified intact.
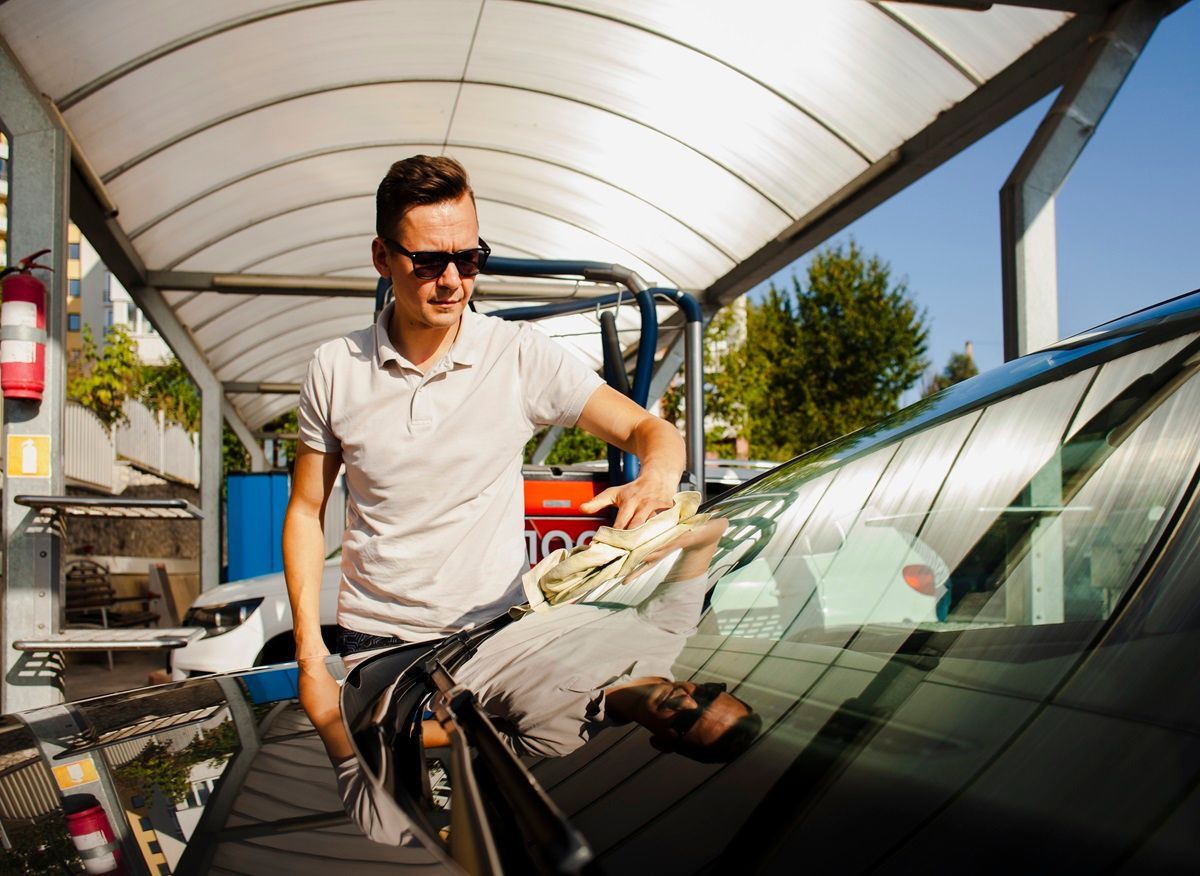
- Interior clean-up: All leftover glass shards and dust are vacuumed from the vehicle. The windshield (or window) is cleaned inside and out. The work area is left tidy. Suffolk Glass, for example, notes that technicians remove broken glass and old adhesive and “vacuum the interior, clean the replacement glass, and leave your vehicle spotless”.
- Final test: If ADAS was recalibrated, systems are tested (e.g., rain sensor activates wipers, lane assist realigns). Windshield wipers are reinstalled and tested. The customer can help verify that visibility and function are restored.
These final checks ensure a safe and leak-free installation. A quality-conscious shop treats the vehicle as if it were theirs, cleaning up thoroughly and confirming that nothing is amiss before handing the car back.
Costs, Timeline, and Insurance Considerations
Replacing auto glass involves clear steps but varies in time and expense by situation.
- Typical timeline: Windshield replacements usually take about 60–90 minutes to install, with an additional wait for adhesive curing. A side window replacement (which is simpler to install) can often be completed within 1–2 hours. If ADAS calibration is needed, add up to an hour or more.
- Cost factors: The price depends on the vehicle’s make/model (luxury cars cost more), the glass (OEM vs. aftermarket), and whether advanced features are present. Windshields for modern cars with rain sensors or cameras can be more expensive. Side or rear windows are generally less costly than windshields.
- Insurance coverage: Many auto policies cover glass damage with no or low deductible. It’s wise to contact your insurer before scheduling. They may require using a shop in their network or may reimburse you. AAA notes that an adjuster can explain coverage and help coordinate the repair. Some insurers even waive deductibles for small glass repairs.
- Estimates: Obtaining a firm quote that includes parts and labor is recommended. The quote should spell out costs of the glass itself, adhesive, labor, and any calibration service. In California, competitive pricing means you can compare multiple providers. Look for local reviews or memberships in safety councils (for example, auto glass shops often mention membership in the Auto Glass Safety Council) as a quality indicator.
- Real-world timing: While some shops offer same-day service, it may depend on part availability and scheduling. In Murrieta’s warm climate, curing times are usually not delayed by cold weather, but work may pause during the extreme heat of midday. Plan for at least a few hours from start to finish, or consider scheduling in the morning to avoid afternoon heat.
Ultimately, get confirmation on all time estimates before the appointment. A reputable provider will explain how long the vehicle must sit post-install and whether you should plan alternate transportation for the day.
By understanding these risks, vehicle owners can ensure technicians adhere to best practices. Asking your installer about their warranties and procedures can prevent many common issues.
Conclusion
Auto glass replacement is a precise process involving damage assessment, precise removal of old glass, careful installation of new glass, and thorough post-install checks. Each step – from using OEM-quality glass and urethane adhesive to calibrating vehicle sensors and allowing proper curing – is essential for vehicle safety. This detailed guide clarifies what vehicle owners in Murrieta, CA, should expect when getting their windshield or window replaced. By following these guidelines and consulting qualified services (such as Lowest Price Auto), drivers can ensure a safe, reliable replacement without surprises.
Frequently Asked Questions
How long does auto glass replacement take?
A typical windshield replacement installation takes about 60–90 minutes. After installation, you must wait for the adhesive to set; safe drive-away time is often 1–2 hours at minimum, though some adhesives fully cure in 12–24 hours. Side windows usually take 1–2 hours total. Always confirm the exact cure time with your installer.
Can I drive immediately after windshield replacement?
No. You should not drive until the adhesive has adequately cured. Most professionals recommend waiting at least 1 hour; full structural strength often takes longer. Driving too soon risks roof collapse in a crash, as the glass may not stay in place. It’s safest to follow the technician’s instructions, which can vary based on temperature and adhesive type.
Do safety features need calibration after windshield replacement?
Yes, if your car has ADAS sensors (cameras for lane assist, automatic braking, rain sensors, etc.). These must be recalibrated to work correctly. Many mobile installers offer on-site calibration; otherwise, the vehicle may need a calibration at a shop. Always ask if your vehicle’s make/model requires sensor recalibration – it’s a critical safety step.